Few of the articles are posted as Images, Please use Laptop / Computers to go through the articles for best experience. For phone users, switch to Web Version

Please Share with your colleagues if you found these blogs informative. Happy Learning :-)

Registering VM via Command Line


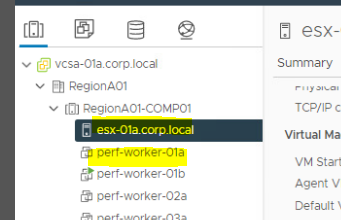
VM is perf-worker-01a & 
Esxi is esx-01a.corp.local


Steps
 Navigate to the Esx host & enable SSH.
To enable SSH, Click on Esx --> Configure --> Services --> SSH & Start the service.


Open Putty & connect the Esx.


We will first inode of the datastore where VM is present. To do it use below command,
     find -iname VMNAME


Copy the output & traverse to it using below command.
Cd Ouputof first command


Use below command to register the VM.

Vim-cmd solo/registervm /vmfs/volumes/5a905bc6-8f09ccc8-9e77-00505601dfda/perf-worker-01a/perf-worker-01a.vmx


Validate the results from Host & Cluster View.


Resetting Windows Local Admin Password Using Utilman.exe Utility

Requirements
ISO of Windows Setup. Prefer same OS ISO if possible.


Steps
1. We will first mount the ISO to the Physical / Virtual Machine & boot the VM from it. 

Mounting ISO


Open Boot Menu by Pressing F10,F11 ( Depends on the machine you are using).
Select CD ROM Drive & machine will start loading the Setup.


Press Shift + F10  when you see below screen. This will open command prompt.


We need to edit some files in System32 under Windows folder, so first step should be to detect the  drive where OS is installed.

Use Diskpart & then list volume. This will list all the Volumes currently present on the System.

Note C volume is of 350 MB, so OS can't be present on it. 


Let's traverse to D drive to see what files & folders are present on it. To do this, we first need to exit Diskpart.
Switching to D Volume by typing D:\

To view the content of D volume type dir.
Folders such as Windows, Users , Programs files etc clearly indicates D volume is OS drive.


We will first traverse to System32 folder using below command.

Cd .\Windows\System32

We will then rename utilman.exe to some other name. Here I have renamed Utilman.exe to Utilman.exe.Old


Once Utilman.exe is renamed, we will then copy cmd.exe Utilman.exe


We will then exit the setup and continue to boot the VM normally. Make sure you are not booting the System from CD drive.

Once Welcome screen comes, we will click on below highlighted Icon to trigger Utilman.exe. ( Note - Since we have copy cmd.exe as utilman.exe, hence once we click on the Icon, it will open command prompt).


Type net user command to view all the local account configured on the VM.
Below screenshot show Administrator as the Only Local account & we will be resetting password for it.

To reset type net user "Account Name" * & hit enter. It will then ask us for new password. Proceed with typing the new password & confirm the same. Once done hit enter & the password will be set.

Note - Password typed while resetting won't be visible, so make sure password matches while resetting.


We can then login to the machine & verify the same.


Mounting Disk of One VM to Another VM

 I ran into a Problem where one of VM crashed & hence unable to boot it. I had important data in one of the disk attached to the VM.


To recover data, we can mount the disk to some other VM & then can recover our data. To implement follow below steps -

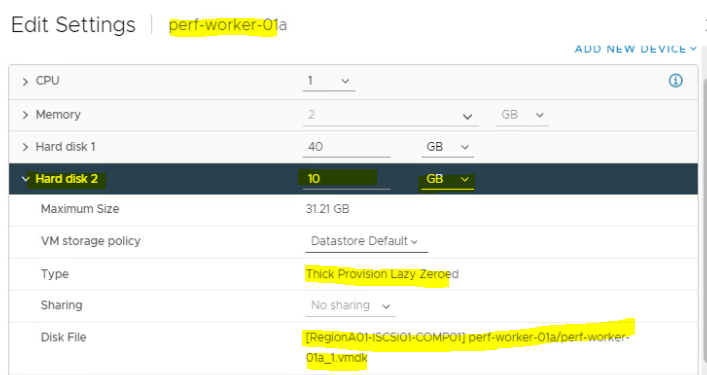
1. Note down the Disk holding your data along with the datastore name. You can easily get this info by right clicking on the VM & Edit Settings.


2. We first need to remove the disk attached to the affected VM. Click on "X" icon to remove it. ( Don't check mark delete from Datastore also option)


3. One removed, we can navigate to other Working VM , Right click --> Edit Settings --> Add Hard drive & here select existing Hard disk Option.


4. Navigate to the datastore containing the disk. ( This was noted in Step 1)


5. Login to the VM. Navigate to Disk management & mark the newly disk as Online.


Able to see all the data now.